Tutorial 5
This is a devlog for Tutorial 5 of my portfolio.
The tutorial was about Cinemachine and Post-Processing.
In this tutorial I have created cinemachine camera that would follow the player. Here's the gif:
I achieved this by putting a cinemachine component call follow and made sure the target object is the player and it would follow the player. I did tweak the offset value to make it higher which makes it easier to see what ahead of the player.
Another cinemachine camera I created was the dolly. I used a ramp as a trigger to activate the dolly camera. I created a dolly track and set points to where the camera goes based on where the player is inside the trigger. It took me a while to get it to what I want and was a bit annoying. Here's the gif:
Imagine there is a landmark around the centre of the camera. That what I imagine when I used the dolly camera.
After working with cinemachine, I moved to post-prcoessing. I decided to use a vignette effect and thought it look pretty cool. I also applied another effect called chromatic aberration. Here's the screenshot of the effects together:
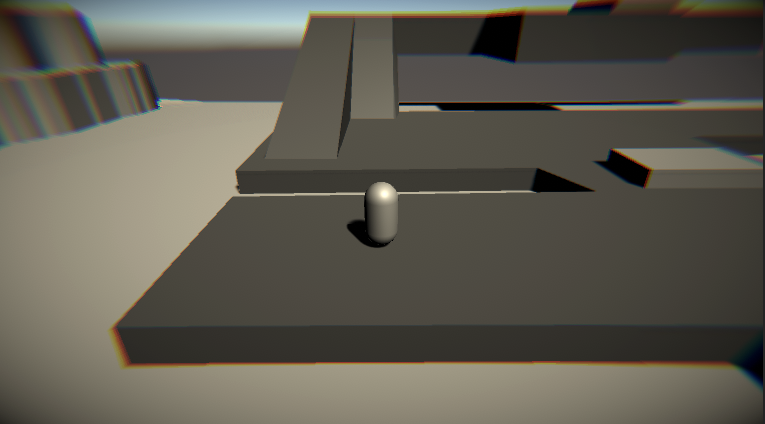
You can see the vignette effect in the corner of the screenshot, making it look like black corners and the chromatic aberration around the edges of the platform.
Last task for this tutorial was to add a post-processing effect where the player enters a trigger, the effect gets enabled and disabled when player leave the trigger. When the player enter the trigger, it makes the game look dark. The effect I used was colour grading. I decreased post-exposure (EV) to get the result I wanted. Here's the gif:
Leave a comment
Log in with itch.io to leave a comment.